Paint drips and perfect coverage aren't always the answer.
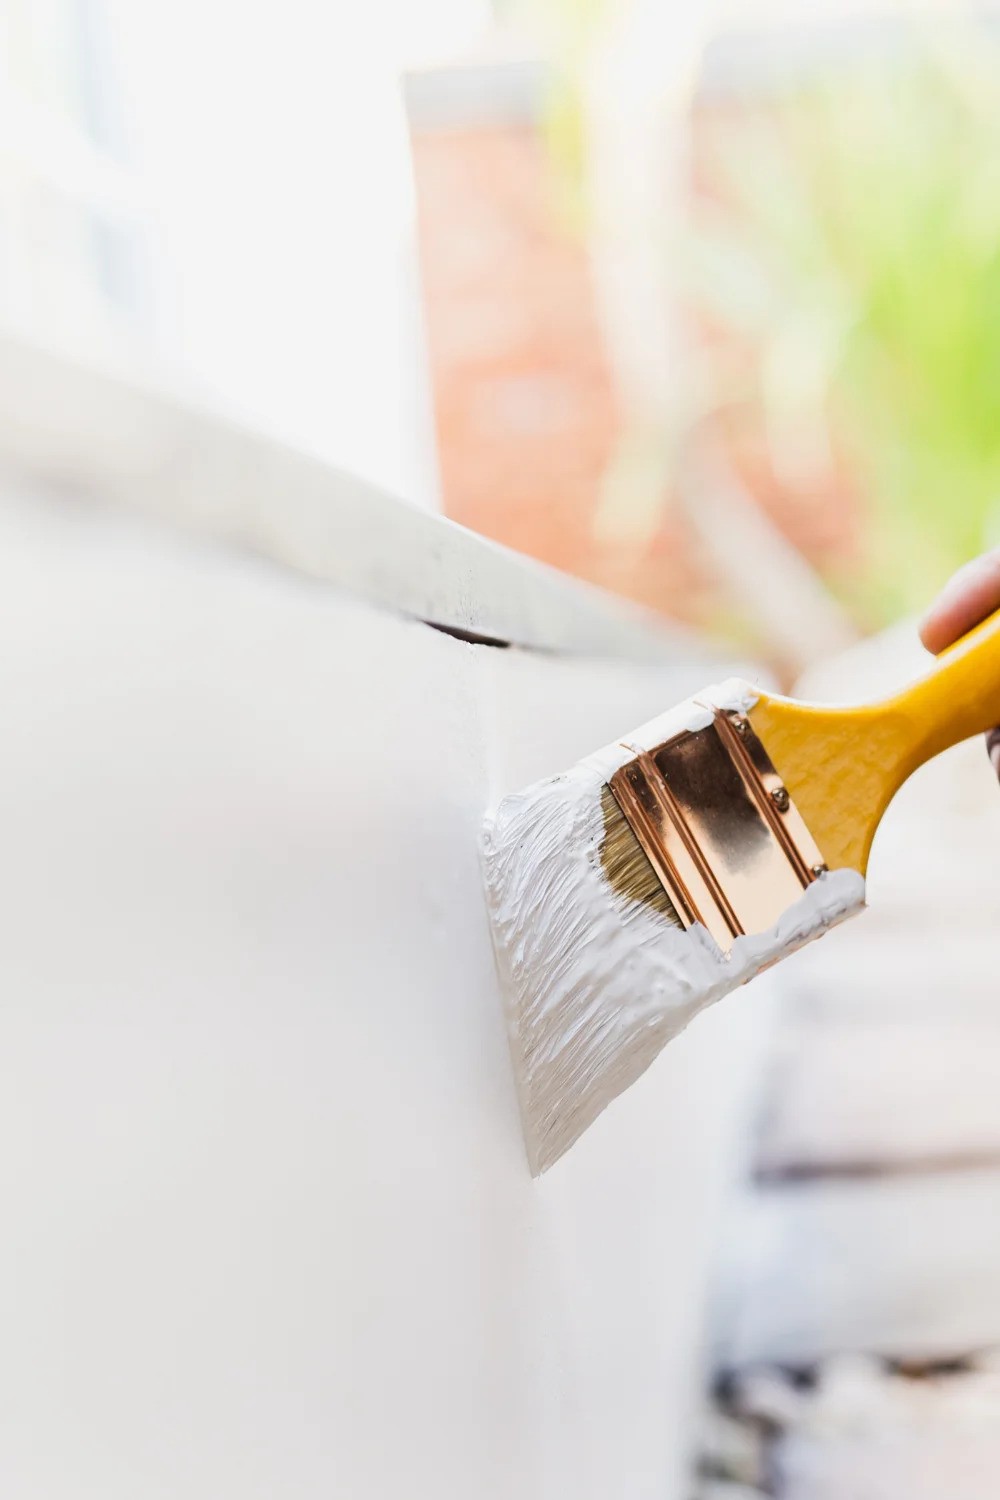
Sometimes, the most striking finishes come from barely-there brush strokes that whisper across surfaces, revealing texture and depth beneath. This is dry brushing — an age-old technique that transforms ordinary pieces into conversation starters.
A nearly empty brush, dancing across wood grain or metal, creates what gallons of paint cannot: dimension. Each stroke builds character, highlighting ridges and valleys that traditional painting would simply bury.
From Victorian furniture makers to modern designers, artisans have wielded this technique to breathe life into flat surfaces and bring subtle drama to architectural details.
Before diving into the details, let’s start with the basics: what is dry brushing paint, and why is it such a popular technique for creating textured, layered finishes?
Related: How to Fix Paint Drips Like a Pro

Dry brushing is all about control.
Unlike traditional painting, where the goal is to cover a surface completely, dry brushing focuses on applying a small amount of paint to create texture and depth. The key is to use a brush with very little paint and apply it lightly to the surface, allowing the texture of the material to shine through.
This technique works best on surfaces with some texture, like wood grain, raised details, or uneven finishes, but it can also be adapted for smoother surfaces with the right approach.
The dry brush painting technique is also about precision and subtlety, allowing you to layer colors and textures for a truly unique finish. But one one of the most important principles of dry brushing? Patience. This isn’t a technique you can rush!
Each stroke should be deliberate, and it’s often better to build up layers gradually rather than trying to achieve the desired effect in one go. Dry brushing is as much about the process as it is about the result, and taking your time will ensure a more polished and professional finish.

Dry brushing isn’t a one-size-fits-all solution, but it’s the perfect choice for certain projects!
If you’re looking to add texture, highlight raised details, or create a distressed, vintage look, dry brushing is your go-to technique. It’s ideal for furniture refinishing, where you want to emphasize the natural grain of the wood or add a touch of character to an otherwise plain piece.
It’s also great for accent walls, decorative molding, and even cabinets, where a subtle, layered effect can make a big impact.
Dry brush effects work beautifully on furniture, walls, and even cabinets, creating a textured, weathered appearance that adds character to any surface.
In contrast, traditional painting methods are better suited for projects that require full coverage or a smooth, uniform finish. Techniques like stippling or sponging can create interesting textures, but they lack the precision and subtlety of dry brushing.
The beauty of dry brushing lies in its ability to create depth and dimension with just a few strokes, making it a versatile addition to your painting toolkit!
Related: How to Fix Paint Drips Like a Pro
The cornerstone of dry brushing is controlling the amount of paint on your brush.
Too much paint can ruin the effect, while too little may not show up on the surface. The goal is to load your brush with a small amount of paint and then remove the excess by blotting it on a paper towel or scrap material.
This ensures that only a minimal amount of paint is applied to the surface, allowing the texture to come through.
One of the most important dry brushing tips is to always test your paint load on a scrap surface before applying it to your project. Mastering paint load control takes practice, but it’s worth the effort. Start with a small amount of paint and test it on a scrap surface before applying it to your project.
Adjust as needed until you achieve the desired effect. Remember, it’s always easier to add more paint than to remove it, so start light and build up gradually.
Not all brushes are created equal, and choosing the right one can make a big difference in your dry brushing results!
Stiff-bristled brushes are ideal for this technique because they provide better control and allow you to create more defined textures.
Flat brushes and chip brushes are popular choices, but you can also experiment with other types to see what works best for your project.
Dry brush art techniques aren’t just for furniture or walls — they’re also popular in fine art for creating textured, layered effects on canvas!
Old or worn brushes can be particularly effective for dry brushing, as their uneven bristles can create interesting textures. Investing in high-quality brushes is always a good idea, as they’re more durable and provide consistent results.
Having a variety of brush sizes on hand will also give you more flexibility, whether you’re working on detailed areas or larger surfaces.
Related: How to Paint Crown Molding: Tips for Flawless Results
Dry brushing works best on textured or uneven surfaces that can catch the paint and create interesting effects. Wood, metal, and certain types of plaster are all great candidates for this technique.
Smooth surfaces can also benefit from dry brushing, but they may require a lighter touch and more precision to achieve the desired effect.
Dry brush wood finishing is an excellent way to enhance the natural grain of wood while adding a rustic or vintage charm to your furniture or décor.
Before you start, it’s important to prepare your surface properly. Clean it thoroughly to remove any dirt or grease, and sand it if necessary to create a smooth base.
If you’re working with a porous material, consider applying a primer to ensure better paint adhesion. Taking the time to prepare your surface will make a big difference in the final result.

Having the right tools can make all the difference when it comes to dry brushing! While the technique itself is relatively simple, using the right brushes, paints, and preparation tools will ensure a smoother process and better results.
As mentioned earlier, stiff-bristled brushes are essential for dry brushing.
Flat brushes and chip brushes are great for most projects, but don’t be afraid to experiment with other types to see what works best for your needs.
Having a range of brush sizes will also give you more flexibility, whether you’re working on detailed areas or larger surfaces.
Not all paints are suitable for dry brushing, and the consistency of the paint can have a big impact on the final result.
Acrylic and chalk paints are popular choices because they dry quickly and are easy to work with. When selecting a color, consider how it will interact with the base layer. Lighter shades are great for highlights, while darker tones can add depth and dimension.
There are countless dry brush paint styles to explore, from light, airy strokes that create a subtle texture to bold layering for a more dramatic effect.
Experimenting with different paints can help you find what works best for your project. Don’t be afraid to mix colors or try different brands to achieve the desired effect.
Preparing your surface is a crucial step in the dry brushing process. Sandpaper is essential for smoothing rough surfaces, while tackcloths can help remove dust and debris.
If you’re working with a porous material, consider using a primer to ensure better paint adhesion. Taking the time to prepare your surface properly will make a big difference in the final result.
Now that you have the tools and principles down, it’s time to dive into the step-by-step process of dry brushing!
Start by dipping your brush into the paint, then remove the excess by blotting it on a paper towel or scrap material.
The goal is to have just enough paint on the brush to create a subtle effect without overwhelming the surface. Test your brush on a scrap surface before applying it to your project, and adjust as needed until you achieve the desired effect.
If you’re wondering how to dry brush furniture, start by preparing the surface, loading your brush with minimal paint, and applying light, even strokes to highlight the natural texture.
The direction of your brush strokes can have a big impact on the final result.
Long, light strokes create a more subtle look, while short, deliberate strokes add more texture. Following the natural grain of the surface, such as wood grain, can enhance the effect and create a more cohesive look.
The beauty of dry brush texture lies in its ability to add depth and dimension to surfaces, making them feel more dynamic and visually interesting.
Applying light pressure is key to achieving the desired effect. Too much pressure can deposit too much paint on the surface, while too little may not show up at all.
Adjust your pressure depending on the look you’re going for, and remember that it’s always easier to add more paint than to remove it.
Layering multiple colors is a great way to add depth and dimension to your project. Start with a base coat and gradually build up layers of dry brushing in complementary or contrasting colors.
Allow each layer to dry completely before adding the next to avoid smudging or blending.
Now that you know how to answer “What is dry brushing paint?” let’s help you make the choice: whether you want to DIY this or hire someone to help you transform your space in the blink of an eye.
At The Hive Painting, we specialize in creating beautiful, personalized spaces for homeowners in Utah counties. From cabinet painting to complete interior painting, our painters in Utah deliver exceptional results with a stress-free experience. We even offer free color consultations and paint samples to help you bring your vision to life!
Contact The Hive Painting today and let us help you achieve the home of your dreams!

Can You Sand Texture a Painted Wall?
2025-05-09
Copyright © The Hive Painting LLC, All Right Reserved.