Distressed furniture has a charm that’s hard to replicate. It brings vintage appeal, rustic warmth, and a touch of character to any space.
But you don’t have to scour flea markets or antique shops to get the look! With chalk paint, you can transform your own furniture into something that looks like it’s been passed down through generations.
Chalk paint makes the process surprisingly easy, and whether you’re a seasoned DIY-er or a total beginner, this guide will show you how to achieve professional results. A chalk paint furniture makeover is an easy way to breathe new life into outdated pieces while adding charm and personality to your space.
We’ll take you through preparation, application, and distressing techniques step-by-step. Grab your brushes and let’s bring your furniture back to life!
Related: Does Paint Block UV Rays?

Before diving into the fun part — the painting! — it’s essential to prepare your furniture properly. Think of preparation as the foundation of your project. Skipping these steps can lead to poor adhesion, uneven paint, or a finish that doesn’t last. With the right prep work, your project will not only look better, but it’ll also stand the test of time!
Start by giving your furniture a thorough cleaning.
Over time, dirt, grease, and grime can build up on surfaces, and these contaminants can prevent paint from adhering properly. Use a mild degreaser or a mixture of dish soap and warm water to really get the surface clean. Focus on corners, edges, and areas near hardware where residue tends to collect.
Once the piece is clean, rinse it with a damp cloth to remove any soap residue. Make sure it’s completely dry before moving on to the next step. This extra effort will pay off when you see how smoothly the paint goes on.
If you’re wondering how to distress furniture using chalk paint, preparation is one of the most important steps to achieving flawless results.
Not all furniture surfaces are created equal! Some are glossy, some are porous, and others may be damaged or uneven. Take a moment to inspect your piece. If it has a high-gloss finish, you’ll need to scuff it lightly with fine-grit sandpaper to help the paint adhere. Unfinished wood, on the other hand, is typically ready for paint without much prep.
Also, look for any chips, scratches, or dents that could stand out after painting. While some imperfections add character, others might be too distracting. If necessary, use wood filler to patch up those areas, and then sand them smooth once dry.
This inspection step is key if you want a smooth, polished finish before diving into chalk paint distressing techniques.
One of the best things about chalk paint is that it doesn’t require heavy-duty sanding like traditional paints often do.
That’s why it’s a favorite for DIYers! Unless your piece has a super glossy or uneven surface, light sanding is all you’ll need. Use 220-grit sandpaper to give it a quick once-over, focusing on areas that need extra help with adhesion. After sanding, wipe the surface clean with a damp cloth or tack cloth to remove dust.
A well-organized workspace can make the process smoother and more enjoyable. Choose an area with good ventilation, natural light, and enough space to move around freely.
Lay down drop cloths to protect your floors, and keep all your materials — paint, brushes, sandpaper, and rags — within arm’s reach.
Set yourself up for success by creating an environment where you can focus on the fun part: transforming your furniture.
Whether you’re going for distressed paint effects or a subtle shabby chic painting style, a clean, organized area makes a big difference!
Related: How to Paint Crown Molding: Tips for Flawless Results

One of the standout features of chalk paint is its exceptional adhesion.
Unlike regular paint, which often requires extensive priming or sanding, chalk paint sticks to most surfaces with minimal prep. This is especially helpful if you’re working with older furniture that might have multiple layers of varnish or paint. You’ll save time without compromising on quality.
If you’re wondering about the best chalk paint for distressing, brands like Annie Sloan or Rust-Oleum are well-loved for their strong adhesion and rich, matte finishes.
Chalk paint dries to a beautiful matte finish, giving the furniture a timeless, vintage vibe. The matte texture not only enhances the rustic feel of distressed pieces but also makes the paint easier to sand during the distressing process.
(Glossy paints, by contrast, can be more challenging to work with when you’re aiming for an aged appearance in your vintage furniture painting.)
Layering is key to creating depth and dimension in distressed furniture, and chalk paint makes it effortless! You can apply multiple coats in different colors, then sand through the layers to reveal the hues underneath.
This technique adds richness and complexity, making your piece look authentically aged rather than artificially distressed.
For those experimenting with two-color distressing, chalk paint makes it easy to create a layered effect. A dark base coat paired with a light topcoat can produce stunning contrast.
Even if you’re not a perfectionist, chalk paint works with you, not against you! Mistakes are easy to fix, and in many cases, they’ll actually enhance the distressed look. If you apply too much paint or sand a little too aggressively, you can adjust as you go. This flexibility is what makes chalk paint so beginner-friendly.
After all, the shabby chic painting style often relies on chalk paint’s forgiving nature to achieve the perfect blend of elegance and rustic charm. It’s perfectly imperfect!

Now that you’ve prepped your furniture and chosen your chalk paint, it’s time to get to work. Follow these steps to create a distressed masterpiece that will turn heads and elevate your space.
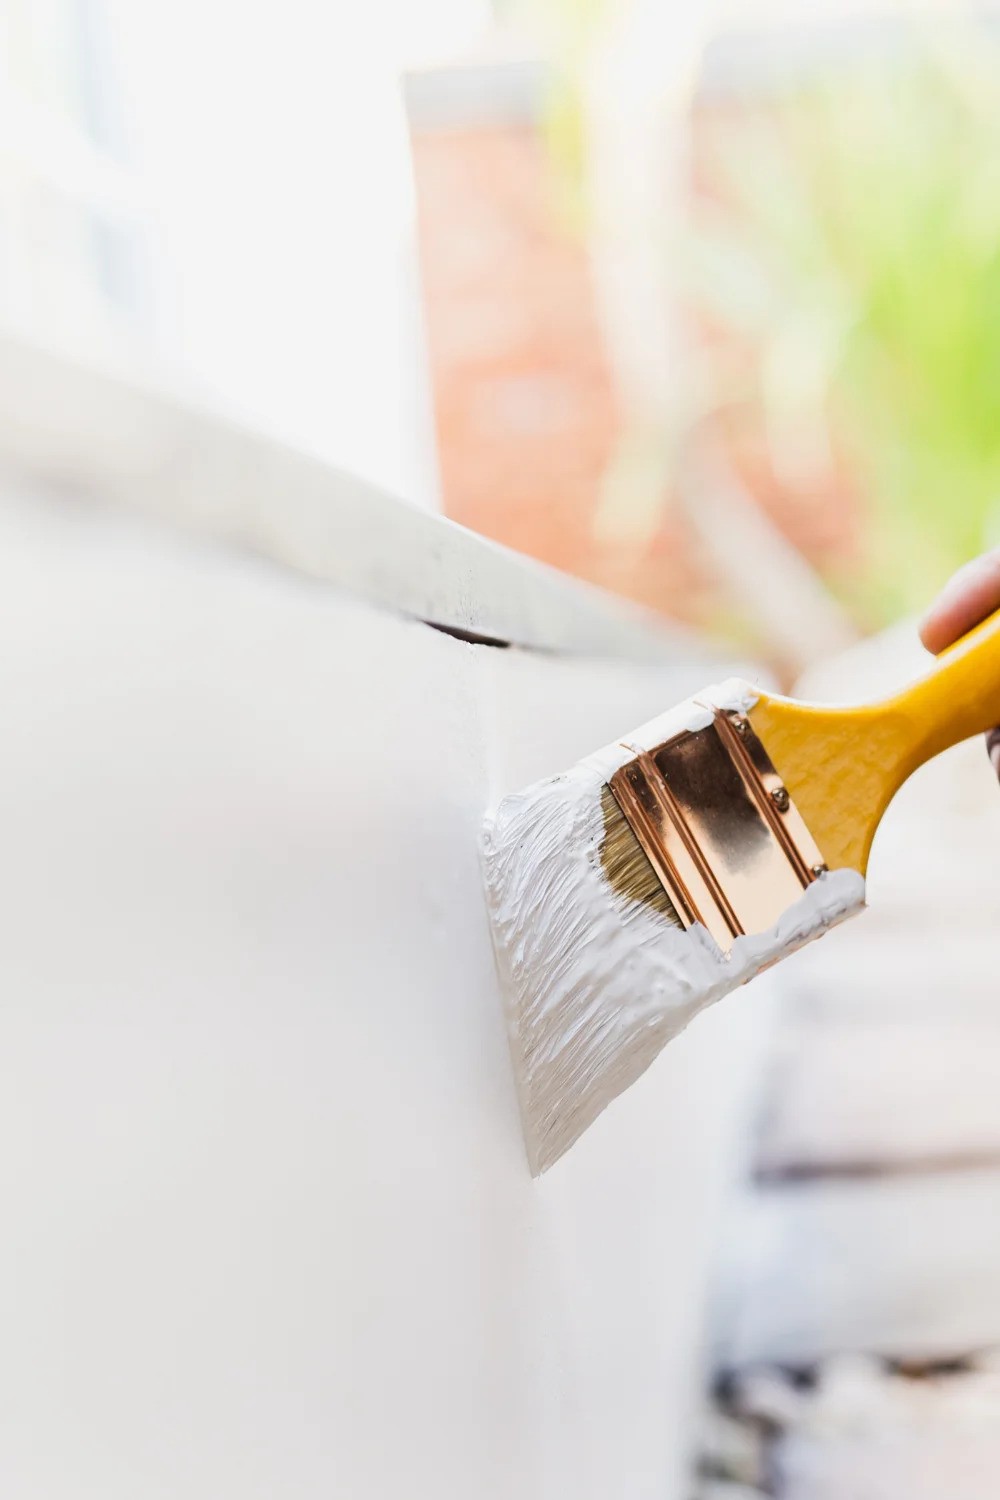
The first step in painting is applying the base coat. Choose a color that you want to peek through the distressed areas — think darker tones like charcoal, navy, or even black for maximum contrast. Using a high-quality brush, apply the paint in long, even strokes.
Don’t worry if the first coat looks a little uneven; chalk paint tends to even out as it dries. Allow the base coat to dry completely before moving on, which typically takes 30 to 60 minutes, depending on the brand.
For the second coat (for two-color distressing), select a color that contrasts or complements the base. Light, neutral shades like white, cream, or pale gray often work beautifully for a distressed look. Apply the second coat over the base, covering the entire surface.
This is where the magic happens! To achieve a distressed look, focus on areas that would naturally show wear over time, like edges, corners, and handles. Use medium-grit sandpaper (120 to 180 grit) to gently sand away the top layer of paint, revealing the base coat underneath.
When it comes to chalk paint distressing techniques, sanding is one of the most popular options, but wet distressing and scraping can also create unique textures. Aging furniture with paint is all about combining these techniques to achieve a timeworn, antique appearance.
Related: How to Paint Around Toilet Without Making a Mess
To protect your masterpiece and enhance its durability, apply a wax or sealant as the final step. Chalk paint wax is a popular choice because it deepens the color and gives the finish a soft, velvety feel.
Use a soft cloth or brush to apply the wax in thin, even layers. Buff it gently after application to achieve a subtle sheen. If you prefer a more modern look, consider using a matte polyurethane sealant instead.
If you’d rather focus on DIY projects like learning how to distress furniture using chalk paint, we’re here for everything else.
As trusted painters in Utah for interior painting, exterior painting, and cabinet painting, we’re here to give you peace of mind in the projects you don’t want to DIY.
Explore our past painting projects to see the results for yourself, and contact us today to get started on your next dream home project!

Can You Sand Texture a Painted Wall?
2025-05-09
Copyright © The Hive Painting LLC, All Right Reserved.