That awkward dance between your paintbrush and porcelain doesn't have to end in disaster!
Most DIY painters make the crucial mistake of treating a toilet like any other bathroom fixture. It's not.
The tight angles, constant moisture, and limited workspace turn this seemingly simple task into a potential nightmare. But with precise movements and the right preparation, you can achieve professional results in even the tightest spaces.
Learning how to paint around toilet fixtures requires attention to detail and the right techniques.
Let’s dive into some essential bathroom painting tips, so whether you’re refreshing your powder room or giving your master bath a complete makeover, the toilet area often becomes the make-or-break point of your house project.

Just like a chef prepares their mise en place, professional painters know that proper preparation makes the difference between a stunning finish and a sloppy mess.
When determining how to paint around toilet fixtures effectively, proper preparation is crucial.
Bathrooms present unique challenges due to their constant exposure to moisture. That’s why before any paint touches the wall, our painters in Utah thoroughly test surfaces for existing moisture issues using professional moisture meters.
Areas reading above 12% moisture content need to be addressed before painting begins. Look for dark spots or bubbling paint — these are telltale signs of underlying moisture problems that need immediate attention.
Transform old bathrooms into a modern, fresh new look with The Hive Painting’s interior painting services!
Thorough bathroom paint preparation is the foundation of a lasting finish. Bathroom walls accumulate soap scum, hairspray residue, and various other contaminants that can prevent paint adhesion.
We use specialized cleaning solutions that cut through these barriers without damaging the underlying surface. A two-step process of TSP (trisodium phosphate) cleaning followed by a clear water rinse ensures a pristine surface ready for paint.
Professional toilet painting tools make the difference between amateur and expert results. Here are some tools you’ll need:
When painting toilet area surfaces, proper ventilation is essential for both safety and results. Proper airflow is crucial for paint curing and preventing moisture buildup. We position commercial-grade fans strategically to create cross-ventilation, even in windowless bathrooms.
A professional-grade air scrubber helps remove paint fumes and airborne particles, ensuring a safer working environment.

Small-space painting in bathrooms requires careful planning and precise execution, especially when it comes to how to paint around toilet.
Here are some measures you should take before and as you’re painting.
Sometimes toilet removal for painting is the best approach for achieving flawless results.
While it's possible to paint around a toilet, sometimes removing the tank provides better access and superior results. If choosing this route, shut off the water supply, drain the tank completely, and carefully disconnect plumbing connections.
This process requires expertise to prevent damage to vital components.
Painting behind toilet fixtures often reveals hidden challenges that require professional solutions.
The space behind your toilet often harbors years of accumulated dust and grime. Using specialized long-handled cleaning tools and angled scrapers, we thoroughly clean and sand these hidden areas.
Any caulk lines showing signs of wear are removed and replaced with mold-resistant options.
Toilet base painting requires extra attention to prevent paint from seeping into the seal.
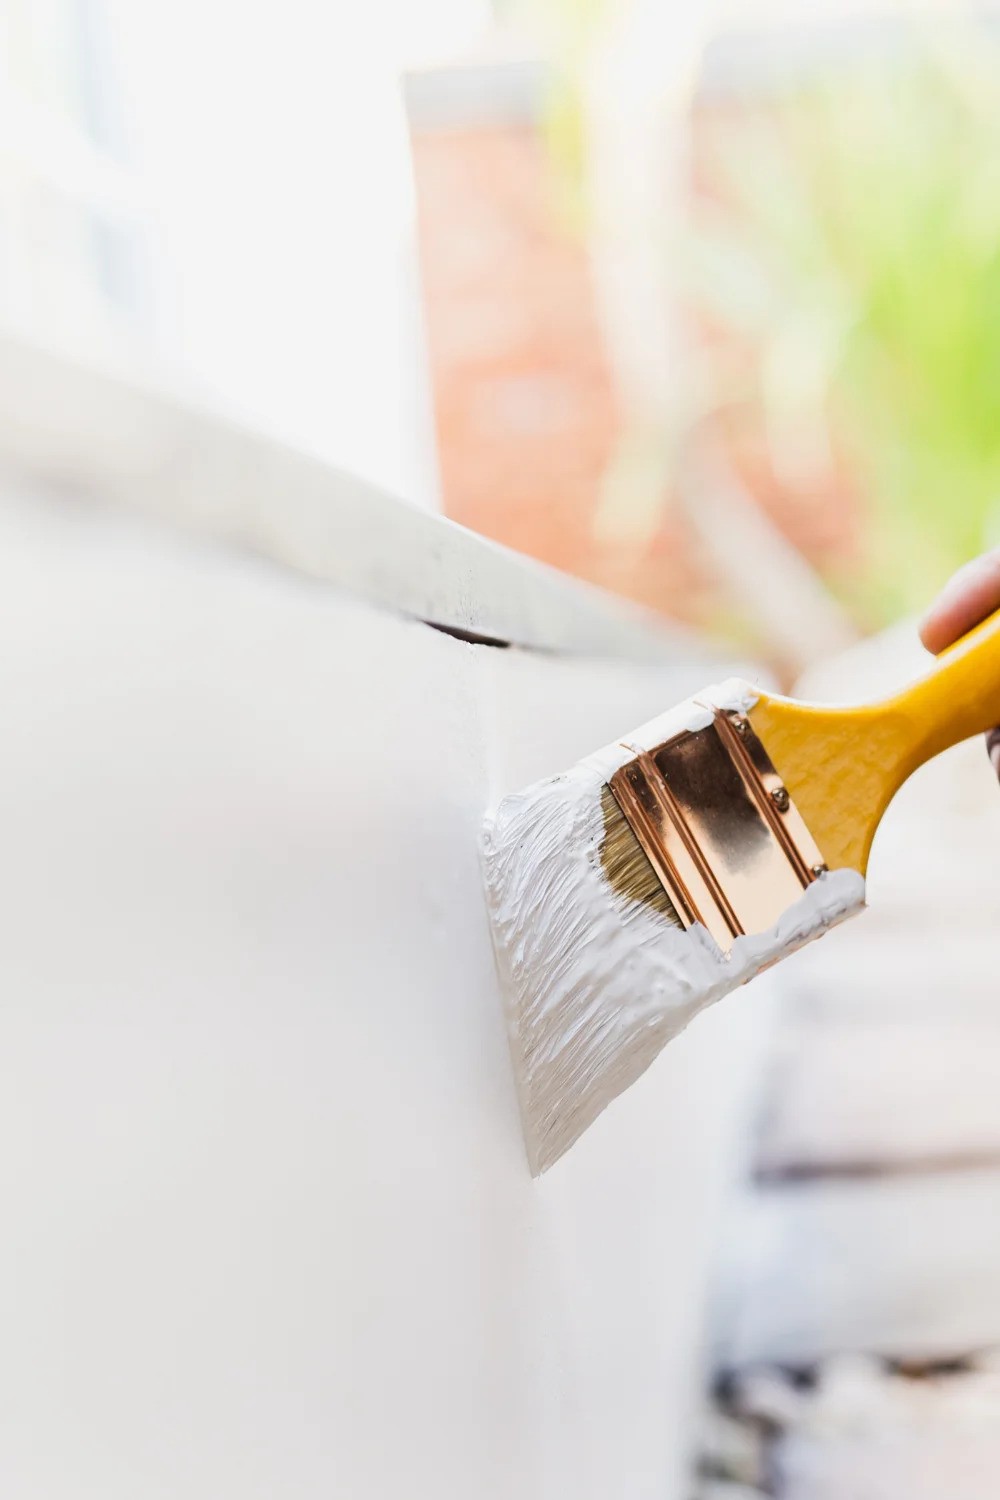
The key to professional results lies in precise cutting-in around fixtures. We use ultra-thin angled brushes designed specifically for detailed work, combined with steady-hand techniques developed through years of experience. Each stroke is deliberate and controlled, creating clean lines without relying heavily on painter's tape.
Achieve flawless lines around fixtures with The Hive Painting’s steady hands — our specialist painters in Utah are here to transform your home with ease!
Related: What Are Solvents in Paint?: Everything You Need to Know
Multiple thin coats always outperform a single thick coat. We apply each layer with careful attention to drying times, adjusting our schedule based on bathroom humidity levels.
This patience ensures proper adhesion and a durable finish that stands up to daily bathroom use.

Professional painters know that mastering how to paint around toilet installations requires specialized tools.
Bathroom trim painting demands steady hands and specialized brushes for crisp lines.
For bathroom painting, we select brushes with synthetic bristles that maintain their shape when exposed to moisture.
Go for a 2.5-inch angled sash brush for cutting in, paired with a 1.5-inch detail brush for tight spaces around fixtures.
Roller selection is equally crucial — try to find a 1/4-inch-nap microfiber rollers that provide smooth coverage without creating excess texture on bathroom walls.
Modern bathroom paint technology has come a long way.
We exclusively use premium-grade paints with built-in mold and mildew resistance. These specialized formulations contain antimicrobial additives and offer superior moisture protection.
Paint with a satin or semi-gloss finish provides the best balance of appearance and practicality for bathroom environments.
Standard painter's tape just doesn't cut it in high-moisture areas. We use specialized blue tape designed for humid environments, combined with plastic sheeting that features a pre-taped edge for faster, more secure masking.
For fixtures, we employ precision-cut masking films that conform to curved surfaces without leaving gaps.
Professional bathroom detail painting techniques ensure every corner looks perfect. Sometimes, standard tools need adaptation for bathroom challenges.
We modify brush handles for better grip in tight spaces and create custom-shaped shield tools for protecting specific fixture shapes. These modifications, born from experience, allow us to achieve professional results in even the most challenging areas.
Every bathroom painting project presents unique challenges. Success comes from knowing how to address these issues before they become problems!
Humidity is the enemy of fresh paint. We use commercial dehumidifiers to maintain optimal conditions during and after painting.
Monitoring humidity levels with digital meters helps us determine ideal painting times and adjust drying times accordingly.
Related: What Are Jewel Tones? Your Guide to Rich, Elegant Colors
The intersection of paint and caulk requires special attention. We apply a thin bead of painter's caulk before painting, creating a flexible barrier that prevents paint from bleeding under existing seals.
This technique ensures clean lines and professional results.
The Hive Painting's expert team handles all the complex details of bathroom painting, ensuring flawless results without any risk to your fixtures or plumbing.
Experience stress-free bathroom painting by letting our experts handle your project. See our past projects for examples of our precision work or contact us today to discover the difference professional painting makes!

Can You Sand Texture a Painted Wall?
2025-05-09
Copyright © The Hive Painting LLC, All Right Reserved.