That perfect paint job just met its nemesis: a stubborn drip running down your freshly coated wall.
It happens to everyone, from first-time painters to seasoned professionals. Paint drips are telling signs of technique issues that need addressing. But here's the truth: fixing them requires more finesse than force, and timing matters more than tools!
Whether you're refreshing your Park City vacation home or updating your Draper kitchen, those unwanted streaks and runs can make even the most confident homeowner question their painting skills.
But don't worry – we're here to share our professional secrets for turning those pesky paint problems into perfectly smooth surfaces. Because learning how to fix paint drips is an essential skill for any homeowner.

Let's dive into the most common culprits behind those frustrating runs and sags — the first step in knowing how to fix paint drips.
Paint consistency is crucial for a smooth finish.
Think of paint like your morning pancake batter – too thin, and it runs everywhere; too thick, and it won't spread properly.
Temperature plays a significant role here, especially in Utah's varying climate. When paint gets too warm, it thins out naturally, making it more prone to dripping. Conversely, cold paint becomes thicker and harder to work with, often leading to overcompensation during application.
Understanding how to prevent paint runs starts with proper paint preparation and application techniques.
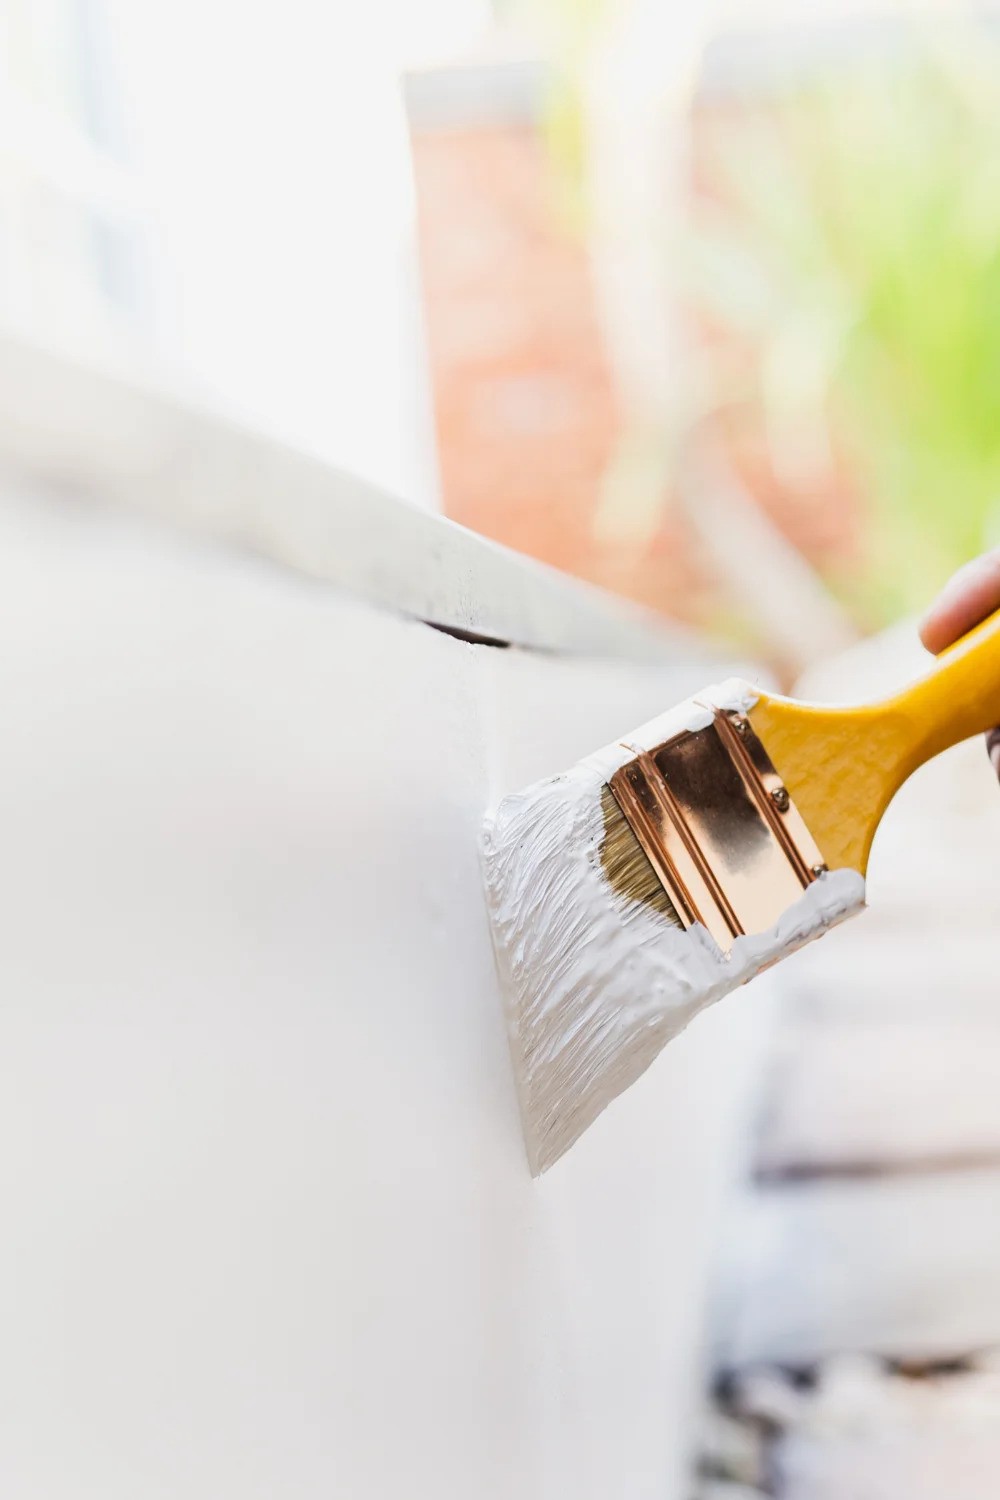
Even the highest quality paint can drip when applied incorrectly. Loading too much paint on your brush or roller is like trying to spread too much butter on toast – it's bound to get messy.
The key is maintaining consistent pressure and using proper loading techniques. Many DIYers make the mistake of applying paint too thickly in an attempt to achieve better coverage, but this often leads to runs and drips.
Related: How to Distress Furniture Using Chalk Paint
Utah's unique climate presents specific challenges for painting projects. Our high-altitude environment means thinner air, which affects how paint dries.
Humidity levels, temperature fluctuations between day and night, and even the direction of sunlight on exterior walls can all impact paint application and drying. These factors are especially important to consider when painting during our hot summers or cool spring and fall seasons.
Choosing the right paint goes beyond picking the perfect color. Different surfaces and environments require specific paint formulations. Using interior paint for exterior projects or the wrong finish for high-moisture areas like bathrooms can lead to immediate dripping issues and long-term problems.

There are several methods for how to fix paint drips, depending on whether they're wet or dry.
Successful paint drip repair often depends on catching the problem early. Fresh paint drips are the easiest to fix but require quick action.
These wet runs can be smoothed out immediately using your brush or roller, but technique is crucial. A light touch and steady hand are essential – think of it as smoothing frosting on a cake rather than scrubbing a dirty dish.
Common wall paint drip fixes include careful sanding and strategic repainting. Once paint dries, those drips become more challenging but not impossible to fix. These hardened runs create visible ridges that can catch light and draw unwanted attention to your walls.
They require a more methodical approach and proper tools to achieve a smooth finish.
Paint sagging often occurs on vertical surfaces when too much paint is applied at once. It creates a wavy, curtain-like appearance that's particularly noticeable in natural light. This type of paint run typically requires more extensive repair work to achieve a professional finish.

Professional painters understand how to fix paint drips using specialized techniques. Fixing paint mistakes requires patience and the right tools for the job.
Different situations call for different grits. For most paint drip repairs, you'll want to start with 100-120 grit sandpaper for initial smoothing, then progress to 220 grit for finishing.
We recommend having both sheet sandpaper and sanding blocks on hand. For delicate areas or trim work, flexible sanding sponges can be invaluable.
Professional paint drip removal techniques often involve specialized tools and expertise. A good scraper should have a sharp, clean edge and comfortable grip.
We recommend having both wide and narrow scrapers for different situations. The key is using them gently – you're trying to level the surface, not gouge it.
Beyond basic painting supplies, you'll need specific touch-up tools. These include small foam brushes for detailed work, paint cups for mixing small amounts, and lint-free cloths for cleanup.
Having the exact paint color and finish is crucial – this is where keeping good records of your paint choices becomes invaluable.
Understanding how to fix paint drips requires knowledge of proper sanding techniques.
Before diving in, evaluate the severity and age of the paint drips. Run your hand over the surface to feel the extent of the problem.
Good lighting is crucial – we recommend using a work light held at an angle to highlight imperfections. This assessment helps determine whether you need a light touch-up or more extensive repair.
Start by protecting your work area with drop cloths and ensuring proper ventilation. If you're working on dried paint, clean the surface thoroughly to remove any dust or debris.
Mask off adjacent areas to protect them from sanding dust and touch-up paint. For best results, work in small sections rather than tackling the entire surface at once.
Various paint smoothing methods can be employed depending on the severity of the drip. The key to successful sanding is patience and consistency.
Use light, even pressure and work in the direction of the paint run. Start with coarser grit sandpaper for major drips, then progressively move to finer grits for a smooth finish. Keep the surface clean between sandings by wiping with a tack cloth to remove dust.
Related: Does Paint Block UV Rays?
Advanced paint touch-up techniques ensure seamless blending with existing surfaces. After sanding, you'll need to carefully blend the repaired area with the surrounding surface.
This might require feathering paint beyond the immediate repair zone. Apply paint in thin layers, allowing each coat to dry completely. This patience pays off in achieving an invisible repair.
While this guide explains how to fix paint drips, prevention is always better than cure! Professional paint defect repair services can save time and ensure perfect results.
Don't let paint drips diminish the beauty of your home. Trust our painters in Utah at The Hive Painting to deliver professional, drip-free results that will make your home the envy of the neighborhood.
Explore our work or contact us today to learn how we can transform your space with our expert interior painting services!

Can You Sand Texture a Painted Wall?
2025-05-09
Copyright © The Hive Painting LLC, All Right Reserved.