Are you staring up at that textured ceiling, wondering how to transform it without turning your home into a paint war zone?
Popcorn ceilings. They’re dated and discolored, and frankly, an eyesore. But the good news is that you don’t need to remove them to breathe new life into your home. With the right tools, some pro-level techniques, and a weekend to spare, you can give that ceiling a fresh, modern look without the expense or mess of ripping it out.
Buckle up, DIY warriors! We’re about to let you in on a secret of how to paint a popcorn ceiling like a pro.
Want to skip the hassle? Spend your weekend lounging and leave the hard work to the pros! Our painters in Utah can help you transform your popcorn ceiling into a work of wonder – contact us today.

Our easy-to-follow guide on how to paint popcorn ceilings is packed with smart tips to help you achieve that perfect pro-quality finish.
But before you jump into your ceiling makeover, suit up like you're preparing for a home improvement battle. Professional painters know that proper protection is the difference between a successful project and a total disaster.
Your safety arsenal should include:
Trust us, you'll thank yourself later when you're not picking dried paint out of your hair and clothes for weeks.
For tools, your painting kit should include:
Pro tip: Invest in professional-grade materials. Tools that come at a cheaper price are a recipe for a messy, uneven finish that will make you wish you hadn’t started the project in the first place.
Related: Is Scrubbable Paint Worth the Extra Cost?

Take your time protecting the entire room before starting your painting project. Keep this checklist in mind so you don’t have a larger mess to clean up afterward.
One often-overlooked safety measure in ceiling projects is asbestos testing.
If your home was built before 1980, it's better to hire a professional to test your textured ceiling before you start. Asbestos, which was widely used in construction materials, can pose serious health risks when disturbed. Taking this precaution ensures your project is not only successful but also safe.
While planning, take time to inspect your ceiling for any obvious signs of wear and damage. Keep an eye out for water stains, noticeable cracks, or areas where the texture is pulling away. These could indicate structural issues that need your attention before you begin painting.
Before starting your project, make sure you address spots that could ruin the final look. Carefully examine your ceiling for cracks, water stains, or areas where the popcorn texture is loose or damaged.
Use a specialized spackling compound designed for textured ceilings to fill small imperfections. For larger areas, you might need to apply a repair compound that matches the existing texture.
Remember, repair work might cost you more, but it will prevent future damage and ensure your new paint job looks professional and lasts longer.
Related: How to Faux Finish Paint: A Guide

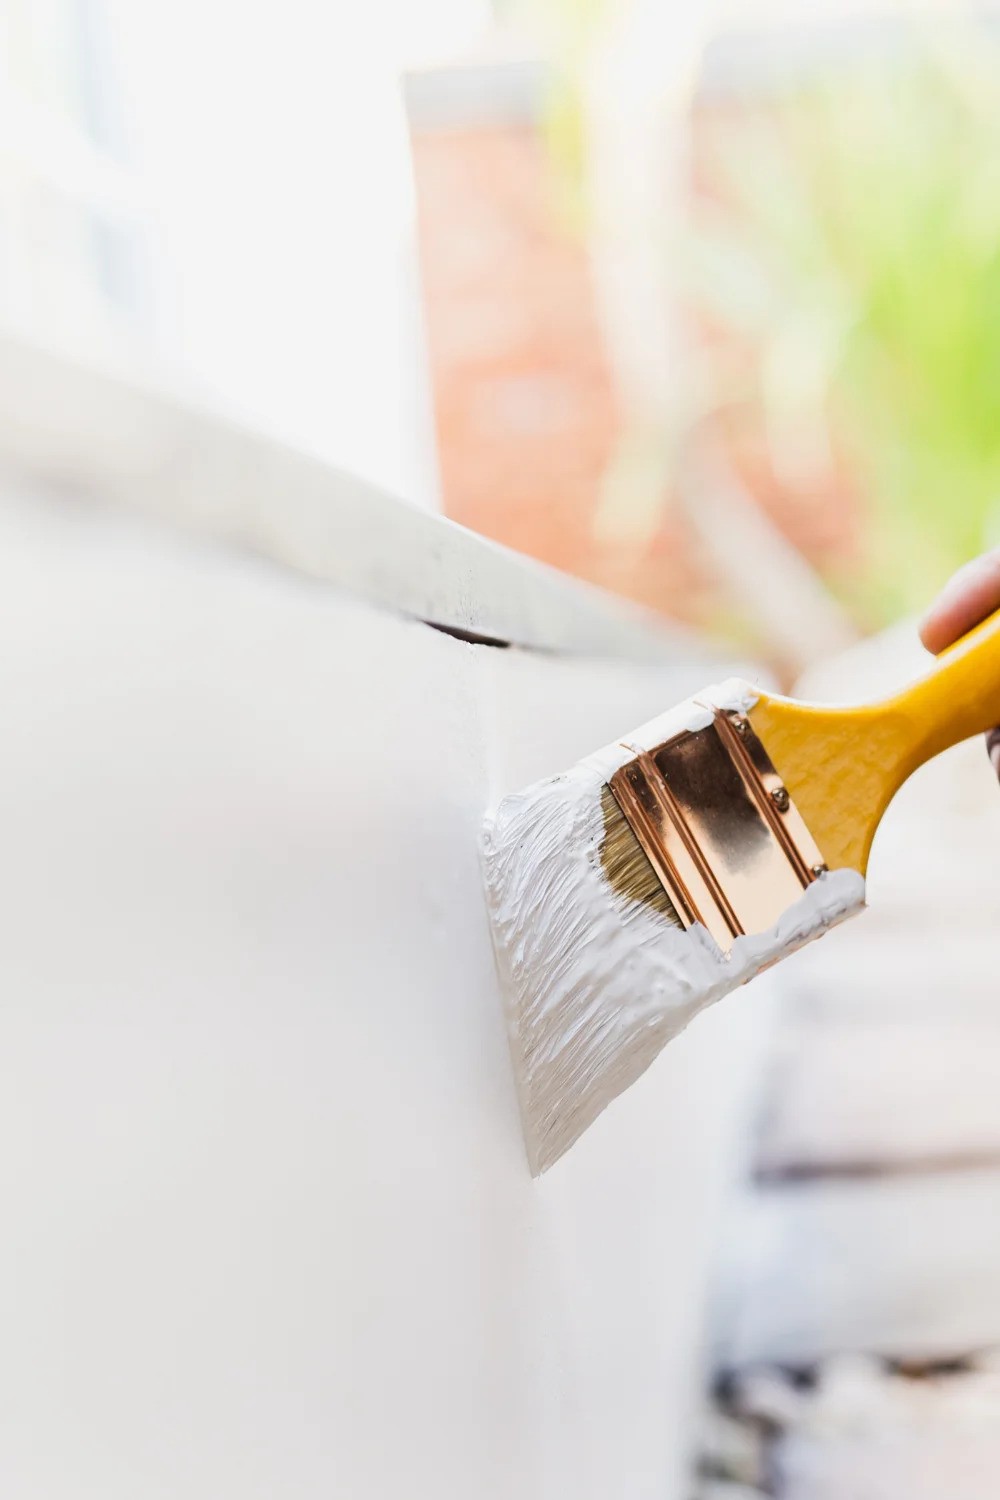
These ceiling painting tips will help you achieve a fresh finish that doesn’t ruin the texture. Textured ceiling painting requires special attention to detail to ensure you preserve the unique surface pattern while getting even, flawless coverage.
While it’s important to choose high-quality acoustic ceiling paint for long-lasting results and a perfect finish, mastering how to paint popcorn ceilings also means knowing which painting techniques should be used.
A popcorn ceiling sprayer can provide more even coverage compared to traditional rollers. It can cover popcorn ceilings more accurately and can reach those tricky corners with ease.
Consider using a sprayer with adjustable pressure settings, which allows you to customize the flow based on specific areas of your ceiling. Hold it 12-18 inches from the ceiling, using smooth, overlapping strokes to prevent uneven application.
Pro tip: Practice this technique on a large piece of cardboard first. This helps you understand spray pattern and distance before attacking your actual ceiling.
If you're more comfortable with a roller, choose a roller with a 3/4- to 1-inch nap to really get into those textured surfaces. Rollers of these sizes can help to evenly apply paint while preserving the ceiling's unique pattern, which makes it appealing.
Work in small sections, using light, consistent pressure to avoid damaging the delicate popcorn texture. Apply the paint in a "W" or "M" pattern, then fill in the gaps.
Doing this takes a lot of time, but mastering how to paint popcorn ceilings involves patience and precision. Taking your time to cover popcorn ceilings makes the texture stand out and even more unique.
Popcorn ceilings can be tricky to perfect, but don’t let that discourage you!
If you’re working with a ceiling that has imperfections, make sure to invest some extra effort in repairs beforehand. A smooth finish is achievable with patience. It might take multiple coats or a few touch-ups along the way, but the result will be worth it.
Watch for potential issues like paint pooling in texture valleys, uneven coverage, or texture lifting during painting. If you notice the texture becoming saturated or starting to come loose, stop and allow the area to dry before continuing.
Keep a spray bottle of water nearby. If the paint starts to blob or pool, a light mist can help redistribute it more evenly.
Related: How to Fix Bubbles in Paint
Follow these post-painting care tips so the beauty of your popcorn ceiling lasts longer!
Let's be real – painting a popcorn ceiling is no easy feat! If this sounds like more work than you're prepared to handle, The Hive Painting is here to save the day. Our painters in Utah offer expert interior painting and are ready to give your old popcorn ceiling a fresh new look.
There’s no need to stress over perfecting any techniques. Check out the houses we’ve transformed and see how trusting the pros can make your life easier.
Ready to transform your space? Give us a call today!

Can You Sand Texture a Painted Wall?
2025-05-09
Copyright © The Hive Painting LLC, All Right Reserved.