Walls don’t have to be boring.
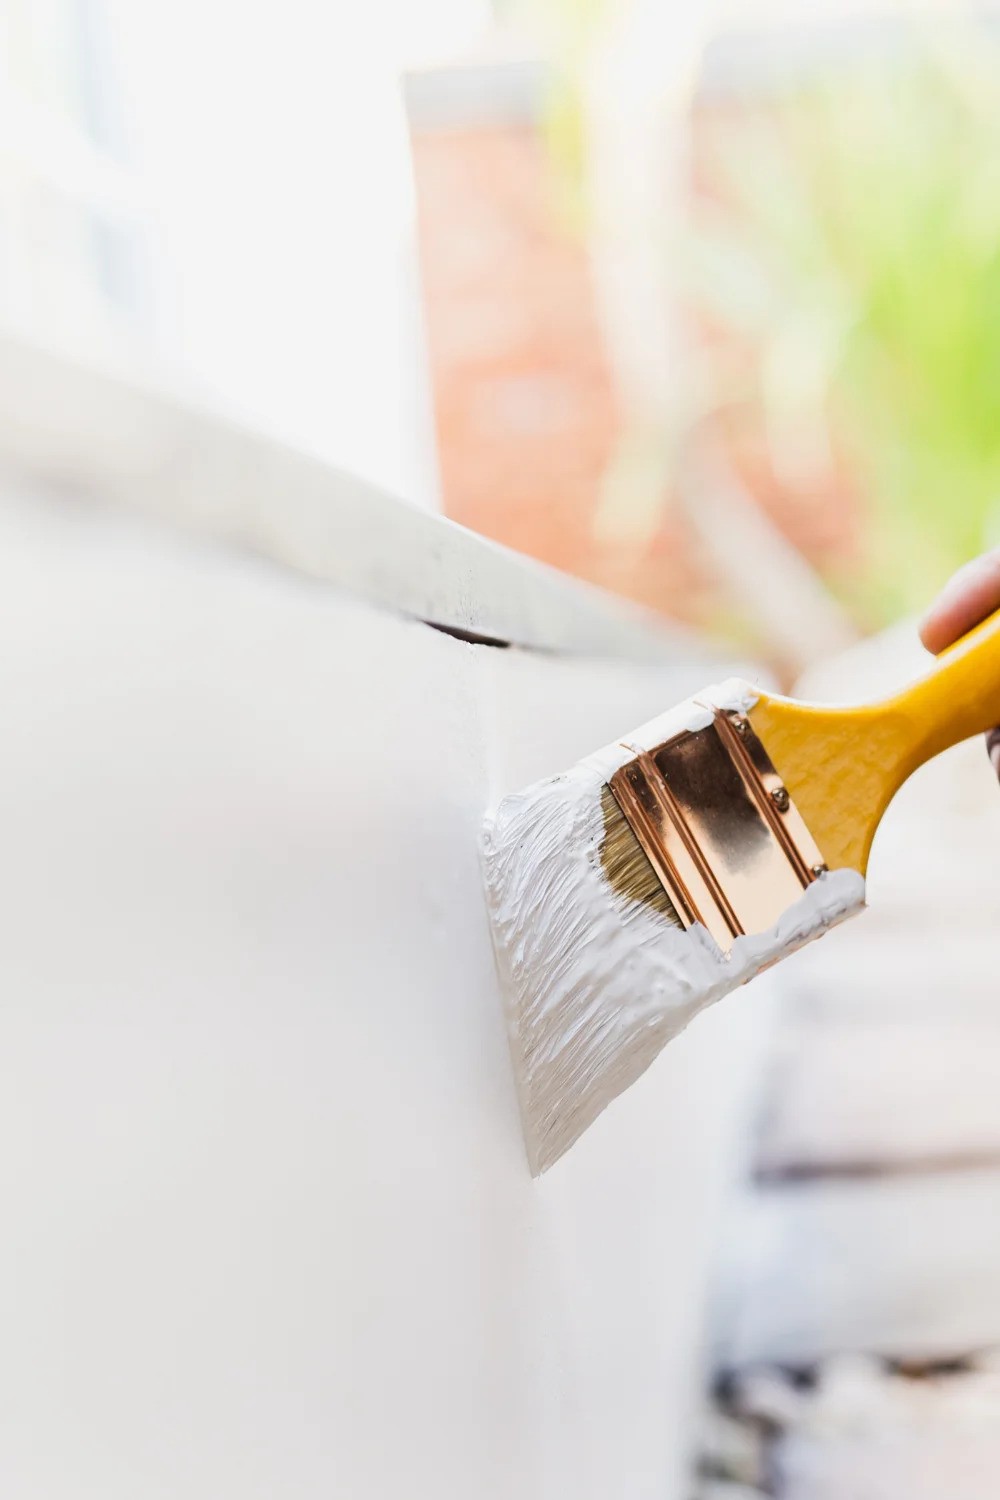
Sure, a flat coat of paint can refresh a room, but if you’re looking to add depth, texture, and personality to your space, faux finish painting can be the way to go!
Faux finishes are a creative way to mimic the look of high-end materials like marble, wood, or plaster without the hefty price tag.
Whether you’re a DIY enthusiast or someone who prefers to leave it to the pros, if you're wondering how to faux finish paint your walls like a pro, this guide will walk you through both basic and advanced techniques.
Let’s transform your walls into works of art!
Related: What Are Jewel Tones? Your Guide to Rich, Elegant Colors

Learning how to faux finish paint is an excellent way to add depth and character to your walls without breaking the bank.
Faux painting techniques like sponging and rag rolling are perfect for beginners looking to add texture and depth to their walls — but let’s just start with three popular techniques to get you started!
Color washing is a timeless faux finish technique that creates a soft, textured look with a translucent effect. It’s perfect for spaces where you want to add warmth and depth without overwhelming the room.
To achieve this look, start by applying a base coat of paint in your chosen color. Once it’s dry, mix a glaze with a second color of paint to create a semi-transparent wash. Using a brush or a rag, apply the glaze in sweeping, random strokes, blending as you go to avoid harsh lines.
The key to a successful color wash is choosing complementary colors. For example, a warm beige base coat paired with a soft white glaze can create a cozy, inviting atmosphere, while a light gray base with a pale blue glaze can evoke a calming, coastal vibe.
This technique works beautifully in bedrooms, living rooms, or any space where you want a serene, elegant finish.
With the right tools and a little patience, anyone can master how to faux finish paint and transform their space with the color-washing method!
Sponging is one of the easiest ways to add texture and depth to your walls! This technique involves using a natural sea sponge to dab paint onto a base coat, creating a layered, organic effect.
The irregular texture of the sponge ensures that no two sections look exactly alike, giving your walls a unique, handcrafted appearance.
To get started, apply a solid base coat and let it dry completely. Then, dip your sponge into a second color of paint (or a glaze mixture) and gently dab it onto the wall.
For a more subtle effect, use a light hand and blend the edges as you go. For a bolder look, layer multiple colors, allowing each layer to dry before adding the next.
Sponging is a versatile technique that works well in accent walls, powder rooms, or any space where you want to make a statement. Textured wall finishes like rag rolling and sponging are ideal for creating visual interest and dimension in your space.
Related: How to Paint Crown Molding: Tips for Flawless Results
Rag rolling is another beginner-friendly technique that can produce stunning results.
This method involves rolling a rag dipped in paint or glaze over a base coat to create a textured, marbled effect. The type of rag you use — whether it’s a soft cloth, cheesecloth, or even an old T-shirt — can dramatically change the final look.
To achieve this effect, start with a base coat and let it dry. Then, dip your rag into a glaze or paint mixture, wring out the excess, and roll it across the wall in random patterns. Experiment with different pressures and directions to create a look that suits your style!
Rag rolling is great for spaces like dining rooms or entryways, where a dramatic, textured finish can make a lasting impression.

Once you’ve mastered the basics, you may want to explore more advanced, decorative paint finishes such as Venetian plaster and faux marble, which can bring a touch of elegance and sophistication to any room!
The Venetian plaster technique mimics the look of polished stone or marble, creating a smooth, glossy finish that exudes luxury. While it requires more time and effort than basic techniques, the results are truly breathtaking!
To create a Venetian plaster effect, you’ll need a special plaster product and a trowel. Start by applying a thin layer of plaster to the wall, smoothing it out as you go.
Once the first layer is dry, apply additional layers, each one slightly thinner than the last. Use the trowel to burnish the surface, creating a polished, reflective finish.
For added depth, you can mix in pigments or apply a wax coating for extra shine. Venetian plaster is perfect for formal spaces like dining rooms, home offices, or even feature walls in living areas.
This modern faux painting technique has evolved to include sleek, minimalist designs that fit perfectly in contemporary homes.
Creating faux marble paint through marbleizing is a faux finish technique that replicates the look of real marble. The process involves layering paint and glaze to create the appearance of natural veining and texture.
To start, apply a base coat in a color that resembles the background of the marble you want to mimic. Once it’s dry, use a feather or fine brush to create veining with a contrasting glaze color. Blend the edges of the veins with a soft cloth or sponge to make them look more natural.
For added realism, layer multiple colors and vary the thickness of the veins. Marbleizing works beautifully on fireplace surrounds, tabletops, or accent walls, adding a touch of timeless elegance to any space!
Related: What is Dry Brushing Paint?
If you love the look of wood but don’t want the expense or maintenance, wood grain simulation is the perfect solution!
Faux wood painting is perfect for achieving a rustic or farmhouse-inspired look on walls, doors, or even furniture. This technique uses a wood grain tool to create the appearance of natural wood patterns on walls, doors, or furniture.
To achieve this effect, start with a base coat in a color that resembles the undertone of the wood you want to replicate. Once it’s dry, apply a glaze in a darker color and drag the wood grain tool through it, creating characteristic lines and knots of wood.
Experiment with different pressures and movements to achieve a realistic look. Wood grain simulation is ideal for creating a rustic or farmhouse-inspired aesthetic in kitchens, home offices, or even accent walls.

Even the simplest faux finish techniques can look professional with the right preparation and attention to detail!
These tips will help you avoid common mistakes and ensure a polished final result. Faux finish effects can range from subtle textures to dramatic, high-end looks, depending on the technique and materials used.
The tools you use can make or break your faux finish project. High-quality brushes, rollers, and sponges are essential for achieving a professional look.
For advanced techniques like Venetian plaster or wood grain simulation, investing in specialized tools like trowels or wood grain combs is a must. Investing in high-quality faux finish tools, like sponges, trowels, and wood grain combs, is essential for achieving professional results.
Choosing the right color palette is crucial for a cohesive and visually appealing faux finish. Complementary or analogous colors work best, as they create harmony and depth without clashing.
But if you’re ever feeling overwhelmed by the endless options, take advantage of our free color consultation services at The Hive Painting!
Timing is everything when it comes to faux-finish painting. Working in small sections ensures that your glaze or paint doesn’t dry before you’ve had a chance to blend it.
Consistency in your technique is equally important — uneven patterns or textures can detract from the overall effect. Practice on a sample board or a small, inconspicuous area before tackling larger surfaces to build confidence and refine your skills.
Maintaining consistency in your patterns and textures is key to a professional-looking result. Step back frequently to assess your progress and make adjustments as needed.
Using sample boards or practicing on a small area first can help you achieve a uniform look before committing to the entire wall.
Whether you're tackling a DIY project or hiring professionals, understanding how to faux finish paint can help you achieve a unique and personalized look.
If the idea of tackling a faux finish project feels overwhelming, our painters in Utah are here to help! We specialize in transforming homes with professional interior, exterior, and cabinet painting services.
Contact us today to bring your vision to life and create a home you’ll love for years to come!

Can You Sand Texture a Painted Wall?
2025-05-09
Copyright © The Hive Painting LLC, All Right Reserved.