Paint bubbles: the silent saboteurs of your home's pristine walls!
They creep up unexpectedly, transforming a beautiful paint job into an eyesore that screams amateur craftsmanship. But here's the good news – you're not destined to live with these unsightly blemishes. If you want to know how to fix bubbles in paint and restore your walls to pristine condition, you’re in the right place!
At The Hive Painting, we understand that every brush stroke tells a story, and paint bubbles can quickly turn that story into a frustrating chapter. Our expert paint defect solutions and tips will ensure your walls look professionally done if you’re looking to DIY it.
After all, paint bubbles can compromise your wall's integrity, lead to more extensive damage, and potentially reduce your property's market value. But don't panic – with the right approach and techniques, you can tackle these paint problems head-on. Here’s how to fix bubbles in paint — and beyond!
Related: How to Paint Baseboards Like a Pro

Let’s dive deep into the most common paint-bubbling causes to help you prevent future issues. Because these pesky imperfections aren't random occurrences but usually actually result from specific environmental and application conditions.
Paint is surprisingly sensitive to its environment!
Extreme temperatures and humidity levels can wreak havoc on your painting project. When the temperature is too hot or too cold, or humidity levels are too high, paint simply cannot adhere properly to the surface.
Ideal painting conditions typically range between 50-85 degrees Fahrenheit with humidity levels between 40-70%. Painting outside these ranges can cause immediate and long-term issues.
It might sound weird, but we always recommend checking weather forecasts when planning your painting project accordingly, ensuring optimal conditions for a smooth, bubble-free finish!
Surface prep is the foundation of any great paint job, as shopping or rushing this step is a little like building a house on sand – it's destined to fail. Dirt, grease, old paint, and moisture can all prevent paint from properly adhering to the surface.
Proper preparation involves thorough cleaning, sanding, and priming. Remove any loose paint, fill holes and cracks, and ensure the surface is completely dry and clean. A degreasing solution can also help remove stubborn dirt and oils that might prevent proper paint adhesion.
Not all paints are created equal. Cheap, low-quality paints are more prone to bubbling, peeling, and other imperfections.
They often lack the necessary binding agents and pigments that provide durability and smooth application.
Investing in high-quality, professional-grade paint might seem more expensive upfront, but it saves money and frustration in the long run. Look for paints with good reviews, an appropriate finish for your surface, and manufacturer warranties.
Related: What is Elastomeric Paint?

Safety should always be your first priority. Essential safety gear includes:
Effective surface preparation requires specific tools:
Choose primers and paints specifically designed for your surface type. Here are a few that we’d suggest:
Professional-grade tools make a significant difference:

Understanding how to fix paint blisters starts with carefully addressing the damaged area and identifying the root cause of the bubbling — whether it's moisture infiltration, poor surface preparation, or incompatible paint layers.
This assessment will help determine the appropriate repair strategy and prevent future issues. Additionally, ensure the room is well-ventilated and maintain an optimal temperature between 50-85°F (10-29°C) for the best results.
Begin by carefully scraping away bubbled paint using a paint scraper, holding the tool at a 45-degree angle while applying gentle, consistent pressure. Work from the center of the bubble outward to prevent further damage to the surrounding paint.
After scraping, examine the exposed surface for signs of water damage, mold, or other underlying issues that need addressing. Once cleared, sand the area smooth using progressively finer sandpaper grits — start with 80-grit to remove rough spots, move to 120 grit for general smoothing, and finish with 220 grit for a perfectly smooth surface.
Pay special attention to the edges where the repair meets existing paint, feathering these areas to create a seamless transition. Vacuum between sandings and wipe the surface with a tack cloth to ensure all dust is removed.
After scraping and sanding, thoroughly clean the surface to ensure optimal paint adhesion. Begin with a degreasing solution or mild detergent mixed according to manufacturer specifications.
For older surfaces, consider using trisodium phosphate (TSP) for deep cleaning, being sure to wear appropriate protective gear. Apply the cleaning solution with a sponge or cloth, working from bottom to top to prevent streaking.
Rinse the area thoroughly with clean water, using a separate bucket and clean cloth to avoid recontaminating the surface.
Allow the area to dry completely — this typically takes 24 hours but may require longer in humid conditions. Use a moisture meter if available to confirm the surface is truly dry.
Finally, wipe down the area with a tack cloth to remove any remaining dust or debris that could compromise the new paint application.
Explore our interior painting work to see some of our beautiful paint finishes — bubble-free!
Apply a high-quality primer specifically matched to your surface type and paint selection. For previously painted surfaces, use a stain-blocking primer to prevent any previous stains or colors from bleeding through.
Then, apply the primer using even, overlapping strokes, extending slightly beyond the repaired area.
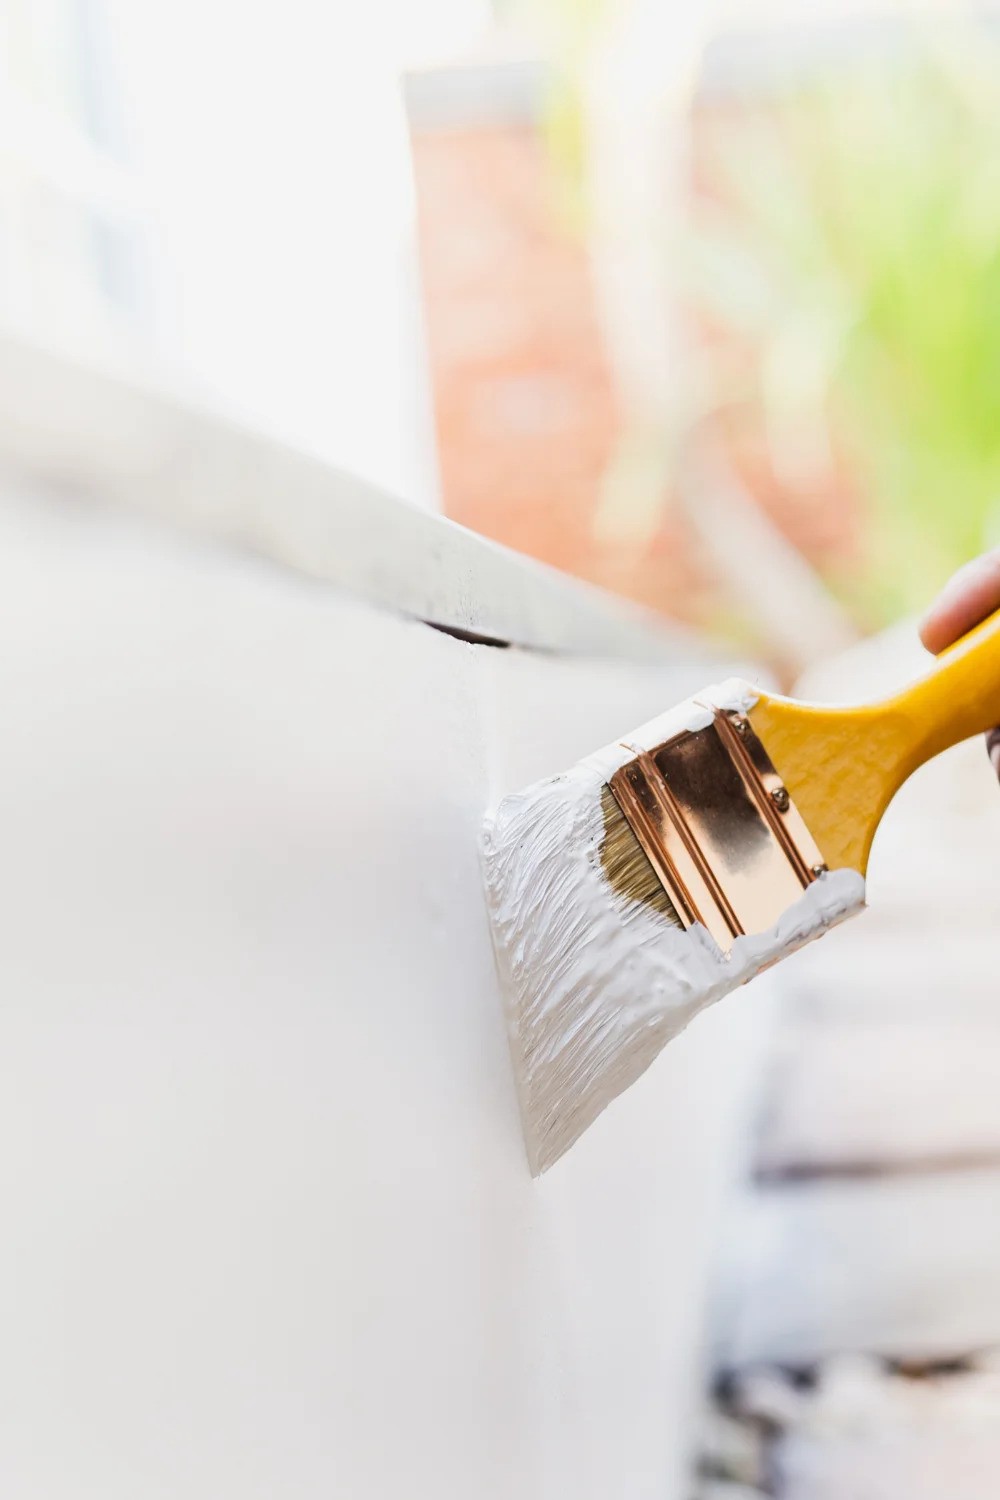
Allow the primer to dry completely according to the manufacturer's recommended time — typically 24 hours for optimal results. When applying the final paint, use long, smooth strokes and maintain a wet edge to prevent lap marks and ensure even coverage.
Work in small sections, applying thin, even coats rather than one thick coat, which can lead to drips, sags, and extended drying times. Keep a consistent angle with your brush or roller (about 45 degrees) and maintain steady pressure throughout the application.
Allow proper drying time between coats — typically 4-6 hours for water-based paints and up to 24 hours for oil-based products.
For the best color match and durability, apply two coats of paint, ensuring each coat is completely dry before applying the next. Also, you’ll want to avoid using fans or heating/cooling systems during application and initial drying to prevent dust contamination and ensure proper curing.
Related: What is Limewash Paint?
While many paint bubble issues can be DIY projects, some scenarios require professional intervention. Extensive damage, large surface areas, or complex surfaces might be best handled by experienced professionals.
At The Hive Painting, we transform painting challenges into beautiful solutions. Our team provides expert color consultations, precise application techniques, and a 5-year warranty on our work. We don't just paint walls; we create experiences that elevate your home's beauty and value.
These smooth paint finish tips will transform your DIY painting experience, but if you want to hand over the work to a professional? Our Utah painters are here to help. Contact us today to discover the difference professional painting can make.

Can You Sand Texture a Painted Wall?
2025-05-09
Copyright © The Hive Painting LLC, All Right Reserved.