Preparation before any interior painting project is essential for achieving a smooth and long-lasting finish. Here is a step-by-step guide with all of the steps to follow:
You can find all of your materials in any paint store near you like Sherwin Williams or Benjamin Moore, also hardware stores like Home Depot or Lowes will have the supplies needed.
Steps:
Clear the Area:
Move furniture away from the walls, the best-case scenario will be an empty room but in most scenarios 4-5 feet of space is enough.
Remove any wall hangings, switch plates, outlet covers, blinds, and curtains.
Cover the floor or carpet and any remaining furniture with drop cloths or plastic sheeting. If it’s your first-time painting, we recommend using plastic and taping it close to the baseboards (if you have carpet, we recommend 1.5-inch painter's tape; any other type will be difficult to stick to the carpet).
Repair the Walls:
Search the walls for any cracks, holes, or dents.
Use the spackling paste and a putty knife to fill in holes and dents. For the cracks, we recommend caulking.
Sand and Clean the Walls:
Depending on how dirty the wall is, some washing might be needed before sanding. Look for any greasy spots or dirty spots and clean them using a degreaser or water and a rag.
Once the wall is clean and the spackling is dry, sand the patched areas using a sanding block surrounded by 180 sandpapers.
Lightly sand the entire wall with 180 or 220 grit (sanding too hard will leave marks, so make sure not to overdo it)
Wipe the wall with a rag to clean all the dust from sanding. At this point, you can also vacuum the plastic or drop cloth
Taping:
Apply blue tape along the edges of the walls that will be painted, including the trim, baseboards, windows, ceiling, and any walls that will not be painted.
Then, with the same tape cover all of the light switches and outlet covers.
Prime the Walls (if necessary):
Apply a spot primer coat on all of the spackling patches that were done (not on the caulking), also on the spots that were grease was cleaned off, if any
if there are any stains showing through the primer like yellowing and in some cases little black dots from grease spot prime with a shellac-based primer (this will be smelly).
A primer coat on the full wall will be needed if there is a dark color and you are going to a light color or if the wall was previously painted with an oil-based paint
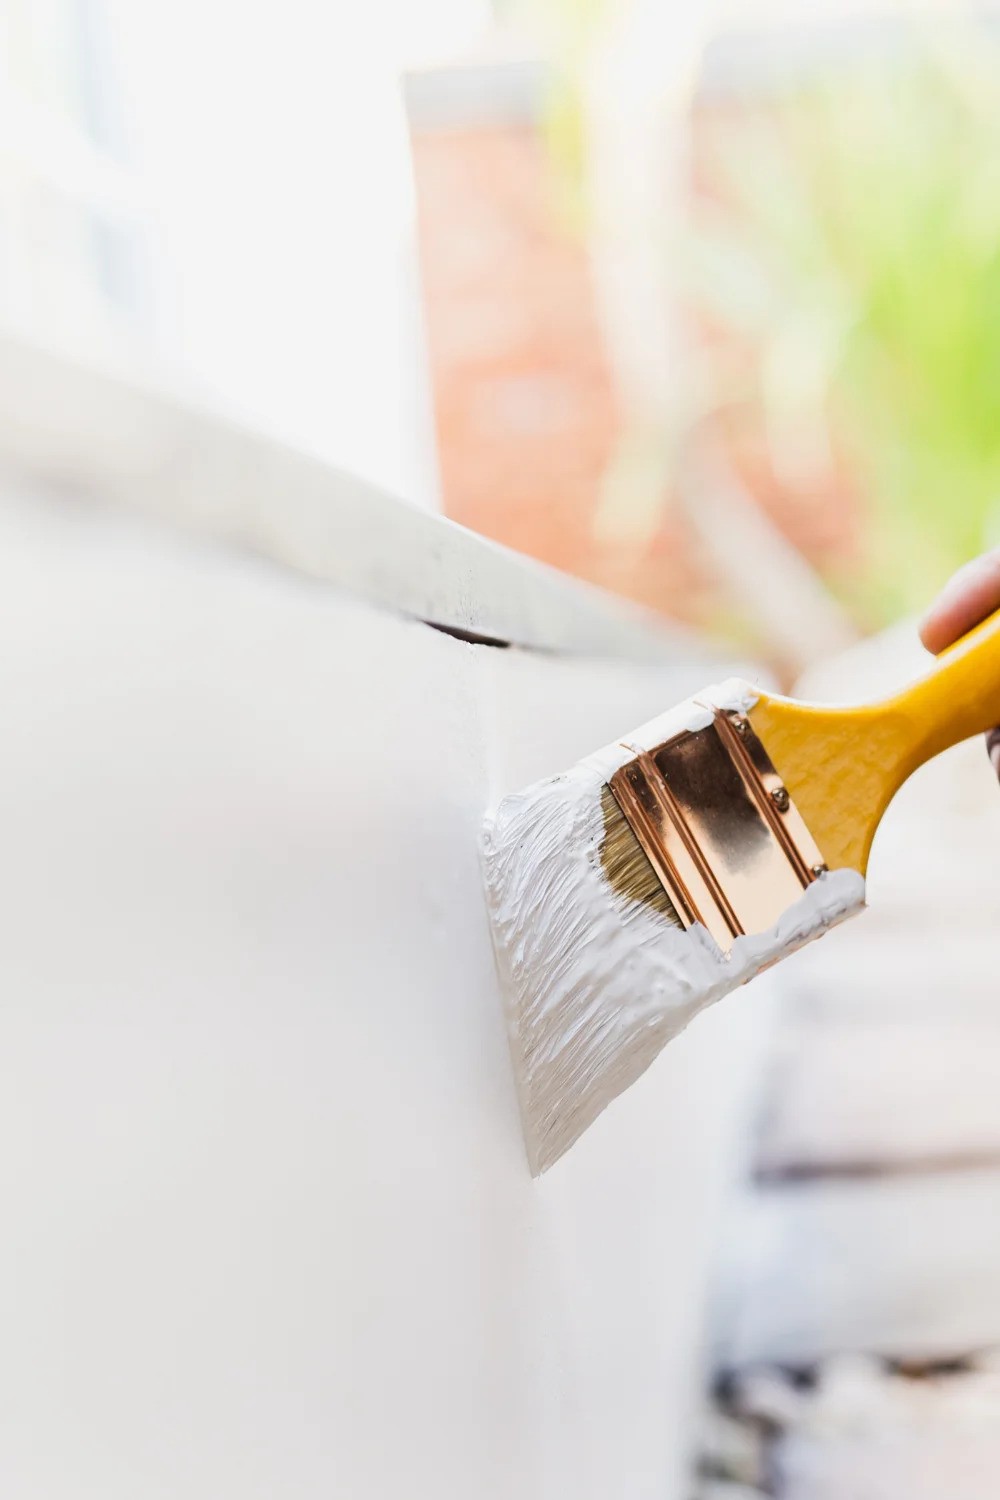
6. Painting:
Start with all of the edges once then the full wall once, then go in the same order again to get 2 full coats of paint. If you are painting a dark color 3, even 4 coats will be needed to achieve a nice and even look. For a smoother finish, you can also sand in between coats, but is not necessary
Following these steps will help you prepare and paint your walls with a new coat of paint, ensuring a professional-looking result. You can also try reaching out to us for a free estimate and our interior painters will follow these same steps and do it for you.
Transform your space now! We're the experts you need for a flawless home makeover.
Precision, care, and excellence are what we bring. Get in touch for a free estimate.
Start your residential painting project today. Let's make something beautiful together.
Ready To Work With The Best?
Transform your space now! We're the experts you need for a flawless home makeover.
Precision, care, and excellence are what we bring. Get in touch for a free estimate.
Start your residential painting project today. Let's make something beautiful together.