Roller marks can ruin a paint job faster than a toddler with a marker. You step back to admire your freshly painted wall — and there they are! Streaks. Shadows. Patches of uneven texture that weren’t part of the plan.
These marks usually come down to three things: bad technique, cheap tools, or the wrong paint for the surface. The good news? They’re fixable. And once you understand what caused them, they’re easy to avoid next time.
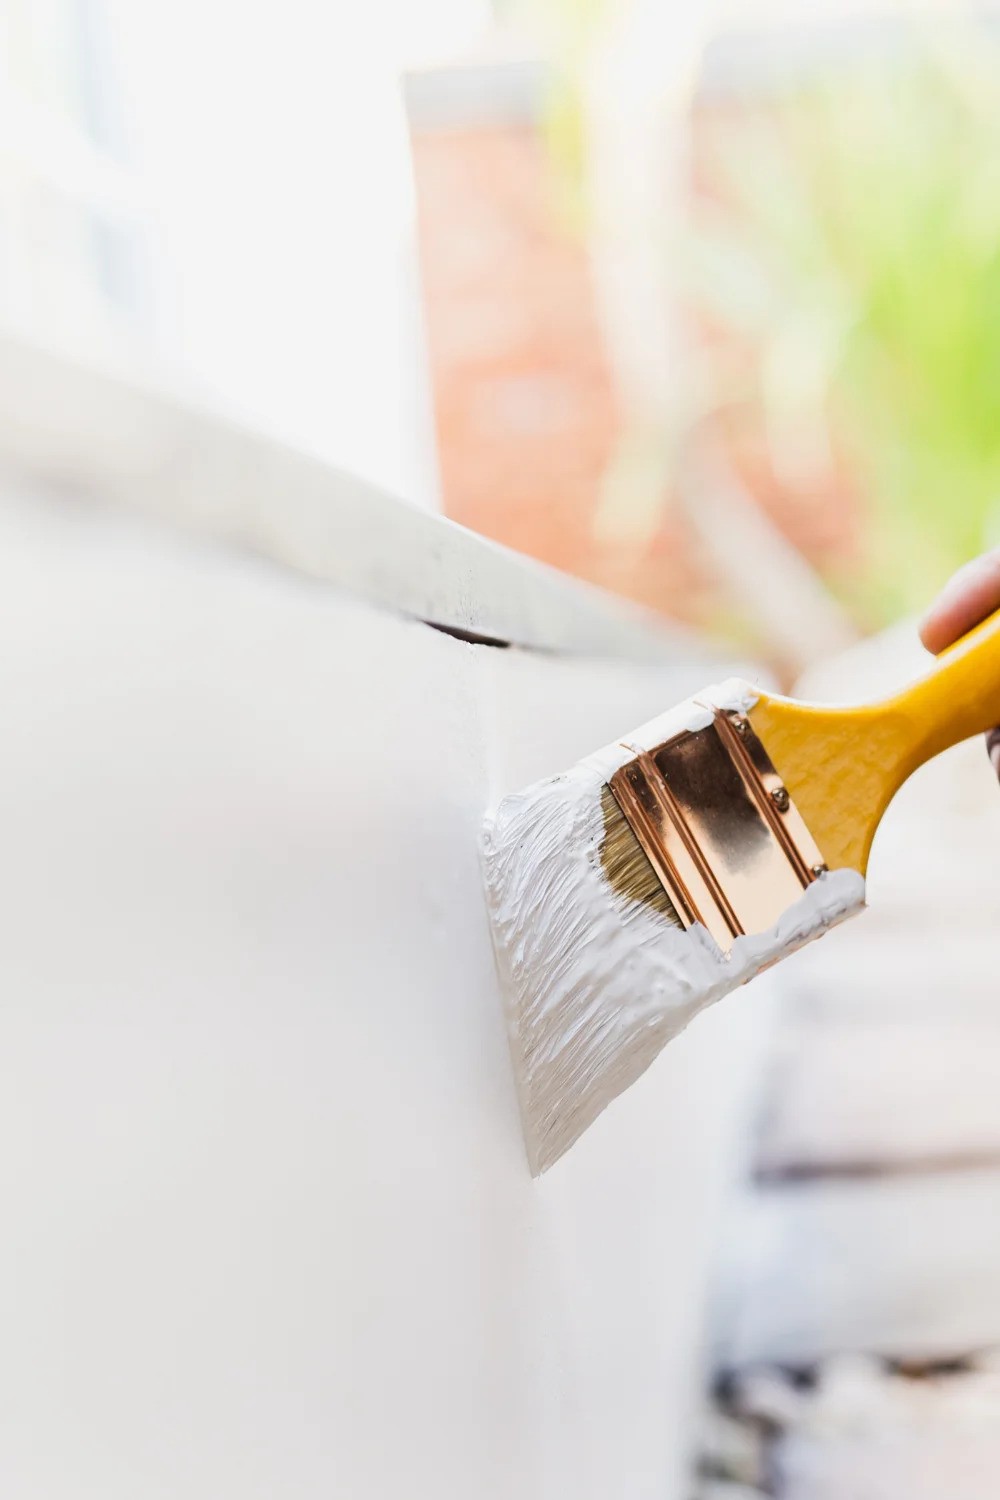
We’ll show you exactly how to fix paint roller marks the right way — without making things worse or starting from scratch. Let’s clean it up!
Related: Paint Color Matching: How to Get It Right Every Time

Pushing too hard on the roller is one of the fastest ways to leave tracks behind. It compresses the roller nap and lays down paint unevenly. You’ll end up with darker streaks where more paint was pushed out, and lighter patches where the nap flattened out.
The nap — or thickness — of your roller cover should match the surface you’re painting. A thick nap on a smooth wall can create texture you didn’t ask for. A thin nap on a textured wall won’t get full coverage, so you’ll press harder and create streaks.
When the paint dries before you finish blending a section, it leaves behind visible lines — also known as lap marks. This is common in hot or dry environments (hello, Utah summers). Working too slowly or overlapping dry edges is a recipe for frustration.
Cheap rollers don’t hold paint well, shed lint, and often apply unevenly. And if the paint itself lacks coverage, you’ll need multiple coats — increasing the risk of roller marks.
Learn more about selecting the best paint rollers from Architectural Digest.

Before you fix anything, grab the right tools:
These tools are what make the difference between a decent patch job and a seamless repair.
Start by identifying all the problem areas. Run your hand along the wall to feel for raised texture or stippling. Lightly sand down those rough spots until the surface feels smooth. Wipe away dust with a damp cloth — any leftover particles will mess with paint adhesion.
Smooth walls require a lighter touch and a thinner roller nap — usually ¼” or ⅜”. For textured walls, go thicker. Always keep a wet edge and work quickly to avoid lap marks.
You can find some great primers for your walls at Lowes!

Use a fine-grit sanding sponge to level out raised lines, stippling, or patches of uneven texture. Don’t overdo it — you're aiming to smooth, not strip the wall. Wipe the area clean with a damp microfiber cloth once you’re done.
If you sanded down to the drywall or patching compound, apply a thin coat of primer. This prevents flashing — that’s when repainted areas show through because they absorb paint differently than the surrounding wall.
Pick a roller with the correct nap for your wall. Load it evenly, then roll off excess paint before it hits the wall. Use consistent, medium pressure — not too heavy, not too light — and always roll in a “W” or “M” motion to blend as you go.
Overlap freshly painted areas into the existing wall using light, even strokes. This softens transitions and helps avoid paint roller overlap fixes down the road. Keep a wet edge and work in small sections.
Once the area dries, check it in natural and artificial light. If you still see texture differences or streaks, repeat the process — sometimes one pass isn’t enough.
Related: What Causes Orange Peel in Paint?
Stippling happens when a roller leaves behind a bumpy, orange-peel texture. It usually shows up when the paint dries too quickly or the roller is too dry. Sometimes, it’s just the result of cheap tools or rushing through the job.
A good roller cover holds paint evenly and releases it smoothly. Cheap ones? They skip, shed, and create patterns you don’t want. Choose a roller nap that matches your wall — too thick and you’ll get texture, too thin and you’ll overwork the paint.
The most important habit for smooth wall painting techniques: don’t let the paint dry between passes. Keep moving, overlap slightly, and don’t go back over drying areas. This is the easiest way to avoid paint roller lines and lap marks.
Too much paint and it’ll drip and pool. Too little and it drags across the wall, leaving texture. Load the roller evenly, roll off the excess, and apply with steady, controlled strokes.
Related: Never Deal with Uneven Walls Again: How to Fix Patchy Paint
If you’ve followed all the steps and roller marks still show up, it could point to deeper issues — like incompatible paint finishes, uneven drywall texture, or bad paint from a previous job. At that point, it’s more than a weekend fix.
Accent walls, entryways, and open-concept rooms are less forgiving. Marks and inconsistencies stand out, especially under changing light. Professionals know how to blend finishes and control texture across large surfaces without leaving a trace.
Fixing roller marks is detail work. It takes the right touch and a careful eye. If you’re juggling a full schedule or just want it done right the first time, handing it off to a team that does this daily can save you a lot of stress.
Fixing paint roller marks can be a tricky job, but it’s one that’s completely manageable with the right tools and techniques. If you're feeling overwhelmed or simply want a flawless finish without the stress, The Hive Painting is here to help.
Our team specializes in transforming homes with professional, high-quality painting services. We handle everything from color consultations to detailed project management, ensuring you get results you can be proud of — without the hassle.
Ready to refresh your space? Contact us today and experience stress-free painting done right!

Can You Sand Texture a Painted Wall?
2025-05-09
Copyright © The Hive Painting LLC, All Right Reserved.