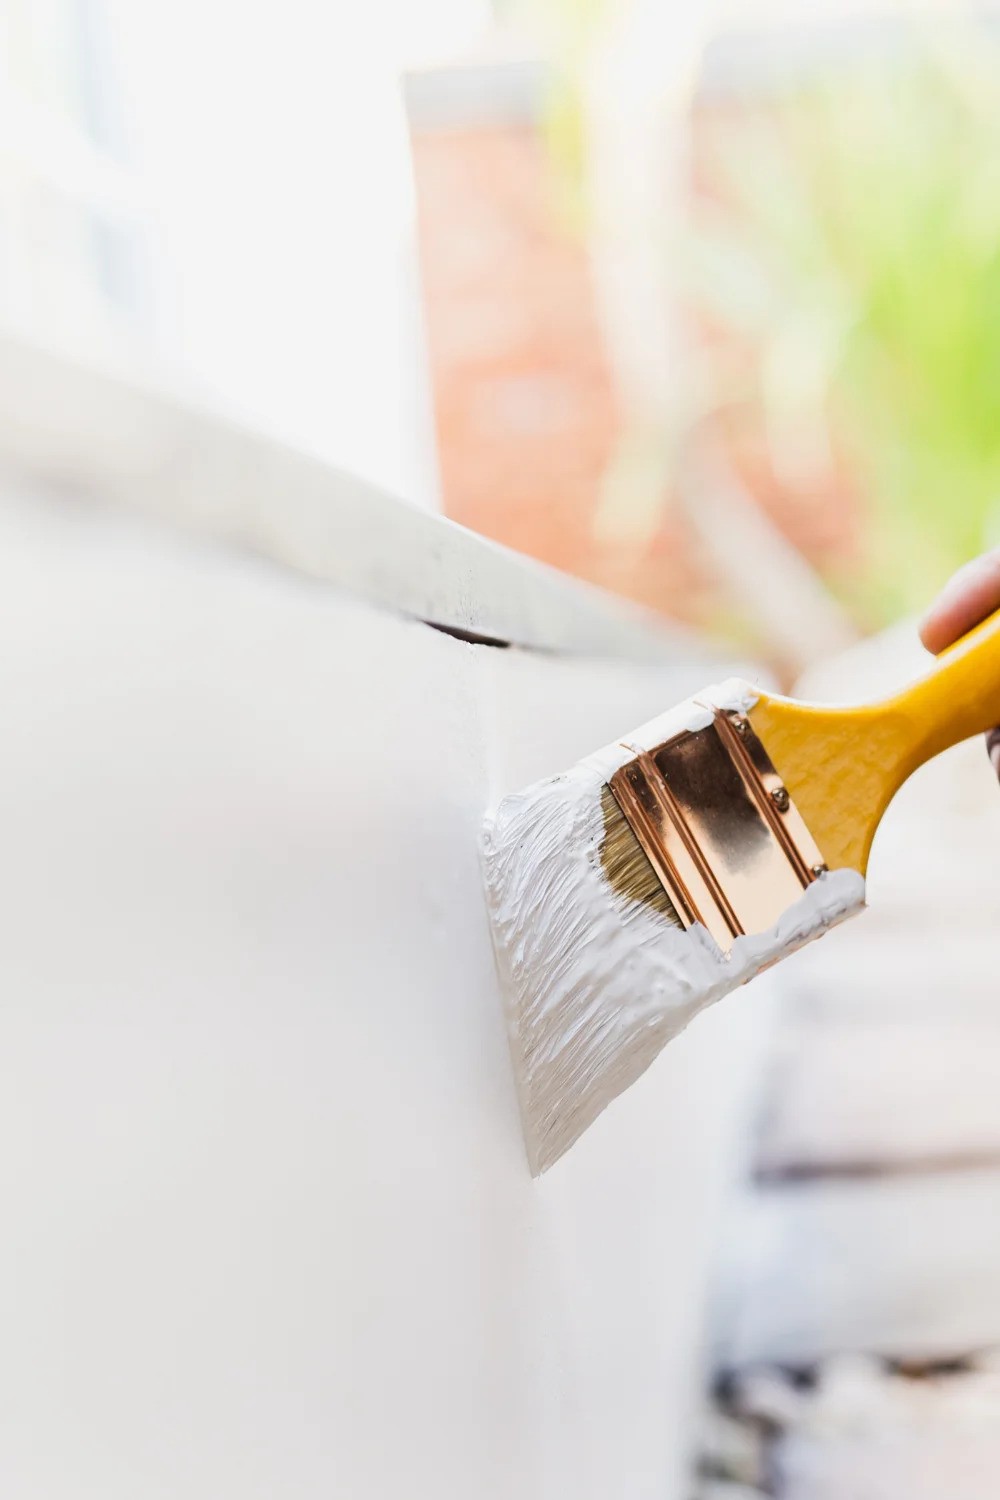
How to Apply a Gel Stain and When to Use It
Gel Stain VS Wiping Stain:
There are basically 2 types of stain when working on wood, and they are used on different occasions. Wiping Stain is used when working on unfinished wood, and gel stain is mostly used when working on wood that has been previously finished. It can also be used on unfinished wood, but it’s more difficult to handle. With that being said, here is a step-by-step guide on how to use gel stain.
Materials Needed:
- Gel stain (we recommend old masters gel stain)
- Polyurethane Clear Coat
- Latex gloves
- Drop cloths or plastic sheeting
- Painter’s tape
- Sandpaper (220, 150 and 2000 grit)
- Clean rags
- A brush
Step 1: Masking
- Cover the floor, walls, and ceilings (if the wood is close to them) with masking plastic sheeting to protect them.
Step 2: Cleaning the wood
- Clean the wood with a degreaser and, at the end, with water. Use clean rags to remove any dust, dirt, and grease from the current finish. Allow it to dry completely before starting to sand.
Step 3: Light Sanding
- Lightly and evenly sand the finished wood with 150-grit sandpaper. We are not trying to remove the clear coat but rather just scuffing the surface so that the gel stain can stick. Sanding too hard in some areas will make the gel stain look blotchy. After sanding, clean the wood again to remove the dust.
Step 4: Apply the Gel Stain
- Put on the latex gloves and grab a clean dry rag
- There are multiple ways of applying a gel stain our preferred method is dry brushing, for this example, we will base it on it being applied on the top piece of a railing, for this, we will apply a thick but not too thick, uneven coat of gel stain on the full piece (gel stain dries quickly if it gets too hot also if there is airflow nearby like when working on a window and its open or on a door outside if that’s your case try working on smaller areas at a time)
- After the uneven coat is applied, start to " clean off the stain” with the same brush you used. Begin on the first part where you applied it. Your brush will get wet with the gel stain, so clean it off with your clean, dry rag after you feel it has picked up too much stain.
- Clean the stain until you achieve the color you want. Everything needs to be done in one go. If you start going back, you will leave marks.
- Gel staining can be tricky, and you will need a lot of practice to feel comfortable with it. However, the great thing about it is that it can easily be cleaned off if you don’t like the way it looks. We recommend always testing on small sections and cleaning them off with a rag wet with mineral spirits until you achieve the look you would like.
Step 5: Allow to Dry, and Apply a Second Coat If Needed
- If you want a darker color, allow the gel stain to dry for 1 or even 2 days before applying a second coat. Doing a second coat if the stain is not fully dry will reactivate the first coat and make it super uneven.
Step 6: Clear Coating
- Once you are happy with the stain color, double-check all of the masking originally done to ensure there is no loose tape.
- Lightly go over all of the stained wood with a super fine grit steel wool to remove any little particles and ensure a smooth feel on the cleat coat.
- Spray or brush the clear coat on, depending on your preference (spraying will leave a more professional and even look). Use two coats and lightly sand with a ultra fine grit sandpaper (2000 grit or more) to ensure a smooth finish.
Step 7: Remove Painter’s Tape
- Remove All of the plastic and tape, clean any areas if the stain bleeds through, or do the small paint touch-ups.
That’s it. Once it’s done, you can sit back and enjoy the way your wood looks now. Take a look at some of our other blog posts if you want to learn a little bit more about painting. If you ever need any house painting services done, we are only one call away.
Recent Posts

Can You Sand Texture a Painted Wall?
2025-05-09


